How to Make a Mini Suitcase Out of Paper
Supplies Needed
To make a mini suitcase out of paper, you will need the following supplies:
Paper: Choose a sturdy paper or cardstock that is suitable for crafting. You can use colored paper or patterned scrapbook paper for added visual appeal.
Scissors: A pair of sharp scissors will be necessary for cutting the paper into the desired shapes and sizes.
Glue or adhesive: Use a glue stick, double-sided tape, or craft glue to secure the paper pieces together.
Ruler: A ruler will help you measure and cut the paper accurately, ensuring precise dimensions for your mini suitcase.
Pencil or pen: Use a pencil or pen to mark the paper before cutting and folding. This will help guide your measurements and ensure clean lines.
Decorative materials (optional): If desired, you can embellish your mini suitcase with stickers, washi tape, ribbon, or other decorative elements.
Remember to gather all the necessary supplies before starting the project to ensure a smooth and enjoyable crafting experience.
Step 1: Prepare the Materials
Before you start creating your mini suitcase out of paper, gather all the necessary materials. Here's a list of what you'll need:
Cardstock or thick paper: Choose a sturdy paper that can hold the shape of the suitcase.
Scissors: Make sure you have a pair of sharp scissors for cutting the paper.
Ruler: A ruler will help you measure and cut the paper accurately.
Pencil: Use a pencil to mark the measurements and guidelines on the paper.
Glue or tape: You'll need adhesive to secure the different parts of the suitcase together.
Decorative materials: Gather any additional materials you want to use for decorating the suitcase, such as stickers, markers, or patterned paper.
By having all the materials ready, you can proceed smoothly with the next steps of creating your mini suitcase out of paper.
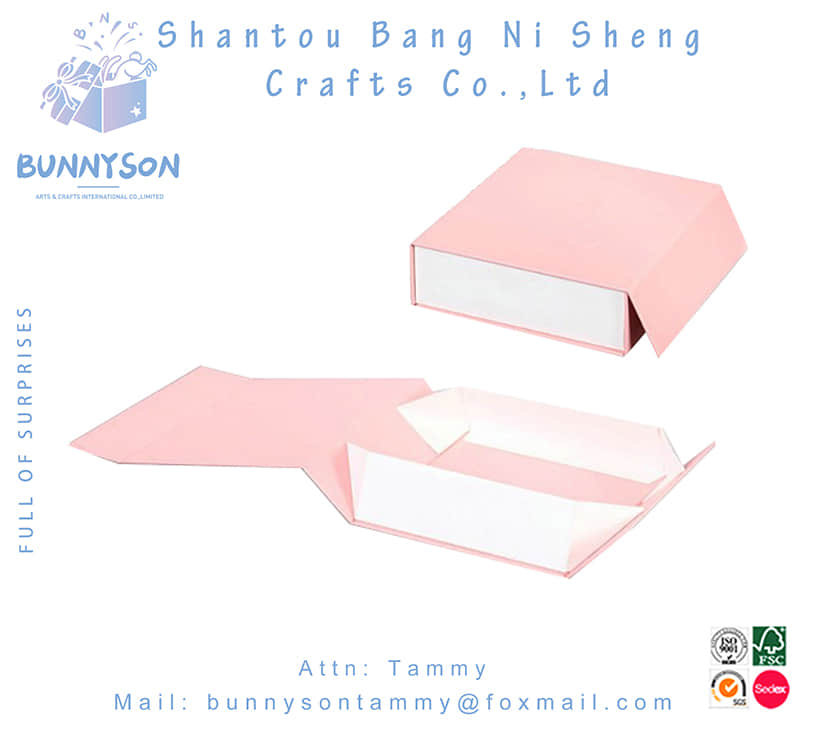
Step 2: Create the Base of the Suitcase
Now that you have gathered your supplies, it's time to start creating the base of your mini suitcase. This is an important step as it will provide the foundation for the rest of the suitcase.
To create the base, you will need to cut out two rectangles from your chosen paper material. Make sure to measure and cut them to the desired size for your mini suitcase.
Once you have the rectangles, use a ruler and pencil to draw lines on the back of the paper, marking where you will fold the sides of the box. This will allow you to create the shape of the suitcase.
Next, carefully fold along the marked lines to create the sides of the box. Use a bone folder or ruler to make the folds nice and sharp.
Finally, use a strong clear glue to secure the sides of the box together, making sure to hide the little flaps on the inside. Allow the glue to dry completely before moving on to the next step.
By following these steps, you will have a sturdy and well-constructed base for your mini suitcase.
Step 3: Construct the Sides and Lid
Now that you have the base of your mini suitcase ready, it's time to move on to constructing the sides and lid. Take your thin card or cereal box card and cut out two rectangles that match the measurements of your base. These will serve as the sides of your suitcase.
Using your ruler and pencil, draw lines 9 mm inside the rectangles. This will create the folding lines for the sides of the box. Carefully score along these lines with a craft knife, making it easier to fold the sides upwards.

To assemble the sides, apply a strong clear glue along the edges of the rectangles and fold them up to form the walls of the suitcase. Make sure the little flaps are hidden on the inside.
Next, cut out a small rectangle of fabric and glue it to the inside of the box to create a hinge for the lid. Test the lid to ensure it opens and closes smoothly, and leave it to dry.
With the sides and lid in place, your mini suitcase is starting to take shape!
Step 4: Attach the Handle and Closure
Now that the base and sides of your mini suitcase are complete, it's time to add the handle and closure to give it that authentic look.
To attach the handle, you can use a strip of paper or ribbon. Simply glue each end of the strip to the top edges of the suitcase, making sure it is secure and can withstand some weight. This will allow you to easily carry the mini suitcase around.
For the closure, you can use a small piece of Velcro or a button and string. Attach one side of the closure to the front of the suitcase and the other side to the lid. This will keep the lid securely closed when you're not using the suitcase.
By adding the handle and closure, your mini suitcase will not only look more realistic but also be functional for carrying small items.
Step 5: Decorate the Mini Suitcase
Now that you have constructed the base and sides of your mini suitcase, it's time to add some personal touches and make it truly unique. Get creative and let your imagination run wild!
Paint and Design: Use craft paint and paintbrushes to add color and patterns to the exterior of the suitcase. You can create stripes, polka dots, or even a fun design that represents your personality or interests. Let the paint dry completely before moving on to the next step.
Embellishments: Add some flair to your mini suitcase by attaching various embellishments. You can use stickers, rhinestones, buttons, or even small charms to decorate the exterior. Consider adding a name tag or initials to make it personalized.
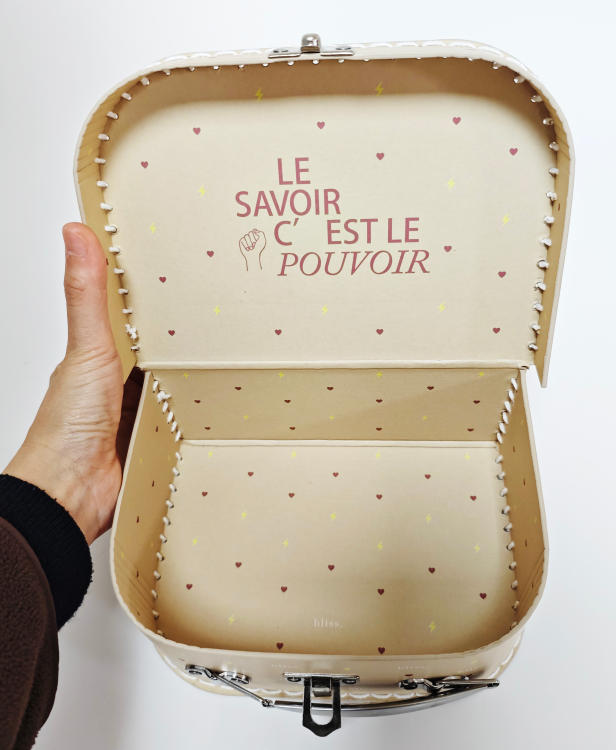
Interior Decoration: Don't forget to decorate the inside of your mini suitcase too! Use scrapbook paper, fabric, or felt to line the interior and create a cozy and stylish space for your mini items. You can also add small furniture or accessories to complete the look.
Remember, the goal is to have fun and make your mini suitcase reflect your style and creativity. Let your imagination guide you and enjoy the process of decorating your one-of-a-kind mini suitcase!
Step 6: Final Touches and Finishing
Now that you've constructed the base, sides, lid, handle, and closure of your mini suitcase, it's time to add those final touches that will make it truly special. Get creative with your decorations to personalize your mini suitcase and make it stand out.
Consider adding stickers, washi tape, or patterned paper to the exterior of the suitcase to give it a unique and stylish look. You can also use markers or pens to draw designs or write messages on the surface.
To make your mini suitcase even more functional, add small compartments or pockets inside using cardboard or paper dividers. This will allow you to organize and store your mini items more efficiently.
Don't forget to add any additional accessories or props that you want to include inside the suitcase, such as miniature clothes, toys, or other tiny objects.
Once you're satisfied with the appearance and functionality of your mini suitcase, take a moment to admire your handiwork. You've created a beautiful and functional piece that can be used for play, storage, or as a unique gift. Enjoy your mini suitcase and the endless possibilities it holds!
Step 7: Enjoy Your Mini Suitcase!
Congratulations! You have successfully created your own mini suitcase out of paper. Now it's time to enjoy your creation and have fun with it!
Take a moment to appreciate the hard work and creativity that went into making your mini suitcase. It's a unique and personalized piece that you can use for various purposes. Whether you want to use it as a storage box, a gift box, or simply as a decorative item, the possibilities are endless.
You can also use your mini suitcase to play pretend or create imaginative scenes. Fill it with miniature objects, dolls, or even create a tiny diorama inside. Let your imagination run wild and have fun exploring the endless possibilities.
Remember, the beauty of DIY projects is that they are a reflection of your own creativity and personality. So embrace your mini suitcase and enjoy the satisfaction of creating something special with your own hands. Happy crafting!