I love to handcraft gift boxes for special occasions
Our factory has machine production for boxes, and some complicated boxes structure still need with traditional handcraft.
Ok today I want to talk about how to handcraft gift boxes for special occasions.
1. General Description of the Process
Gift box making is the process of creating a decorative and functional container, often from scratch or by assembling pre-cut components, to present a gift in an elegant and personalized way.
The key steps usually involve:
· Design & Planning: Determining the size, shape, and style of the box based on the gift inside and the occasion.
· Material Selection: Choosing the appropriate paperboard, cardstock, fabric, or other materials.
· Cutting: Precisely cutting the material into the necessary shapes and panels for the box base and lid.
· Scoring & Folding: Creating crisp, clean fold lines by lightly cutting or impressing the material along the edges of the panels.
· Assembling: Gluing or taping the panels together to form the three-dimensional structure of the box.
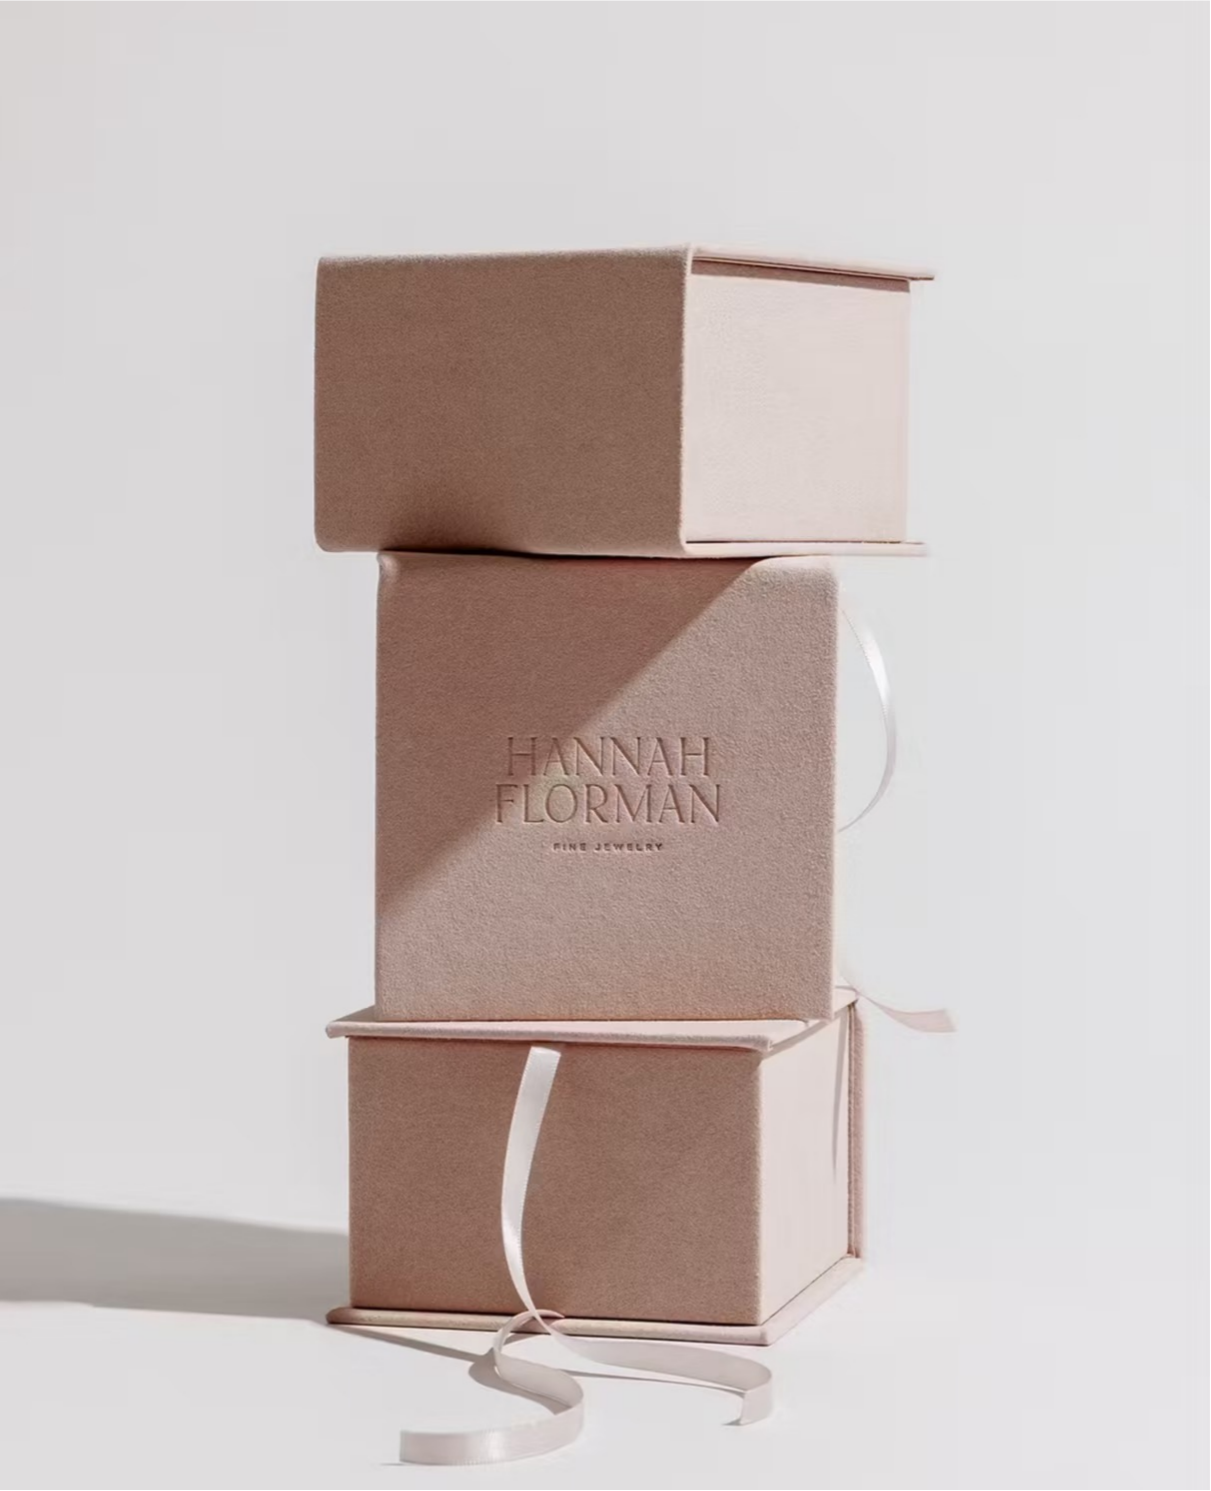
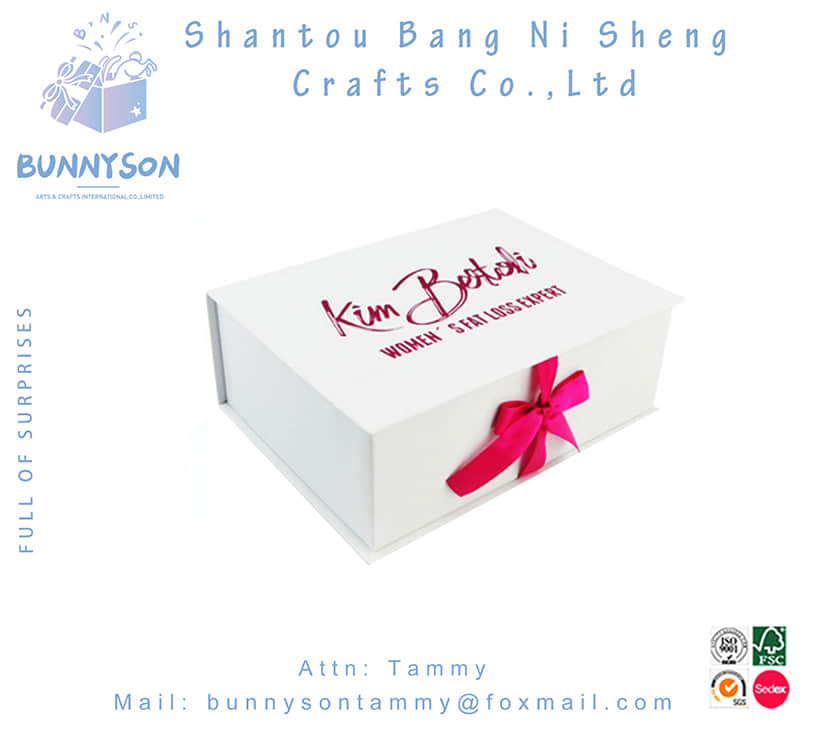
· Decorating: Embellishing the finished box with ribbons, stamps, labels, flowers, or other ornaments.
---
2. Step-by-Step Guide for a Basic Paperboard Gift Box
Materials Needed:
· Paperboard or thick cardstock
· Ruler
· Pencil
· Craft knife or scalpel
· Cutting mat
· Scoring tool (or a dull knife/empty ballpoint pen)
· Strong glue or double-sided tape
· Decorative materials (ribbon, wrapping paper, etc.)
Instructions:
1. Measure and Mark: Decide on the dimensions of your box. For a simple box, you will need to cut two pieces: one for the base and a slightly larger one for the lid.
· Base: On your paperboard, draw a rectangle or square. This will be the bottom of the box.
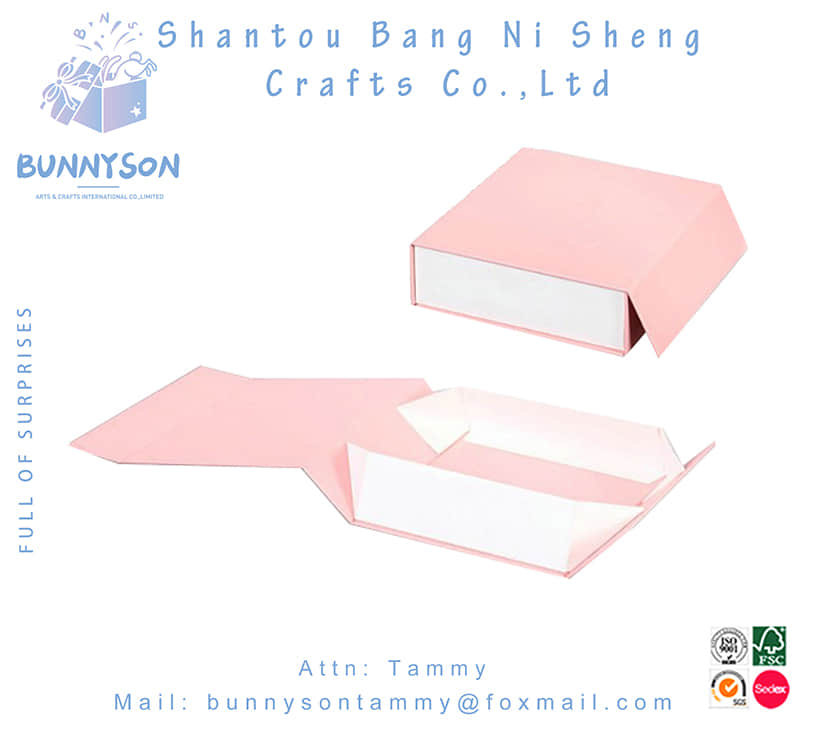
· Add Walls: From each side of the base, draw extending rectangles. The height of these rectangles will be the depth of your box.
2. Add Flaps: At the ends of each "wall," add flaps. These will be glued together to form the corners.
3. Score the Lines: Use a ruler and a scoring tool to score along every line where the paper needs to fold. This includes the lines between the base and the walls, and between the walls and the flaps.
4. Cut Out the Shape: Carefully use a craft knife to cut out the entire shape you have drawn and scored.
5. Fold and Assemble: Fold all the scored lines inward. Apply glue to the flaps and carefully press them against the adjacent walls to form the box structure. Use paper clips or clamps to hold them in place while the glue dries.
6. Repeat for the Lid: Create the lid using the same method, but make each dimension about 2-3mm larger than the base so it can slide on easily.
7. Decorate: Once the glue is dry, decorate your box as desired.
---
3. Key Terminology
· Gift Box Making / Crafting a Gift Box
· Paperboard / Cardstock: The thick, sturdy paper used.
· Template / Die-cut: A pre-designed pattern used for cutting.
· Scoring: Creating a fold line.
· Folding: Bending the material along the scored line.
· Assembling / Construction: Putting the box together.
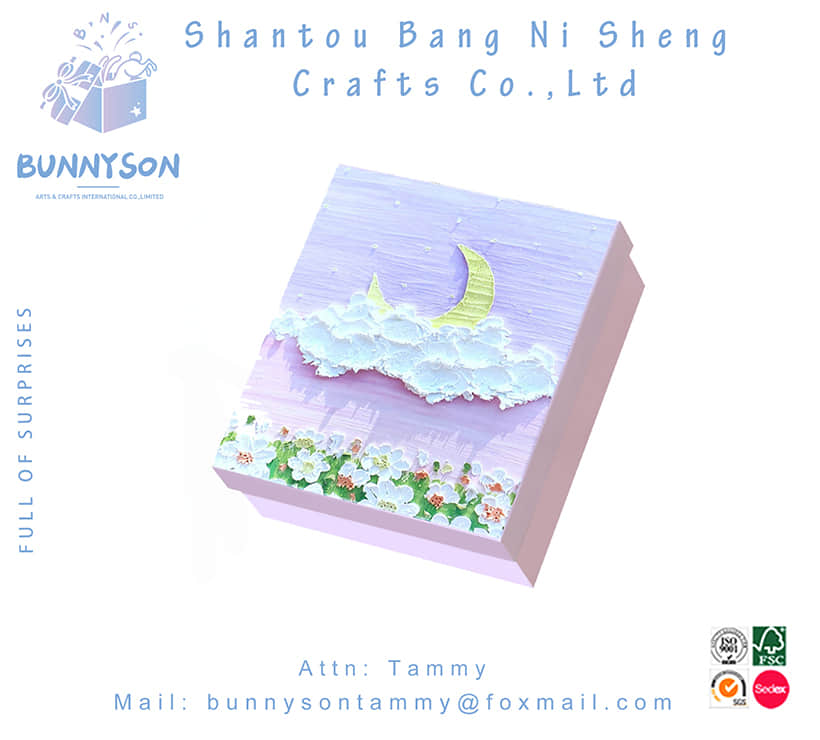
· Box Base / Bottom: The lower part of the box.
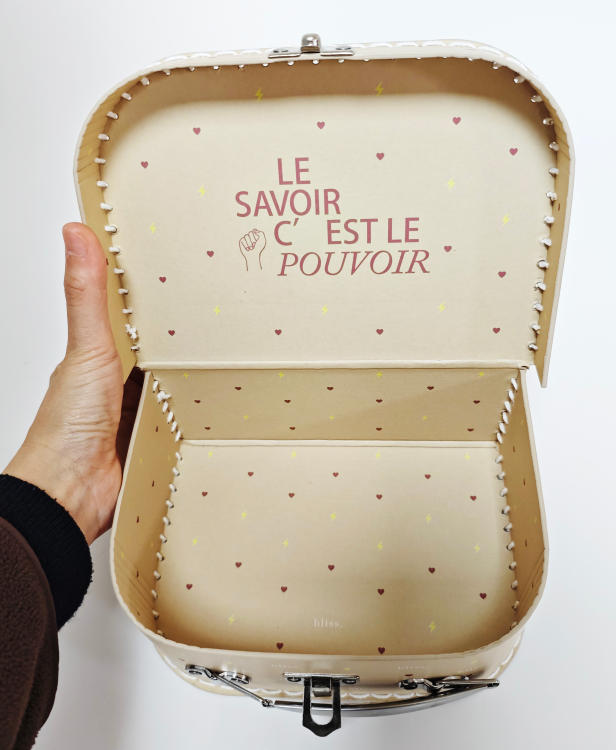
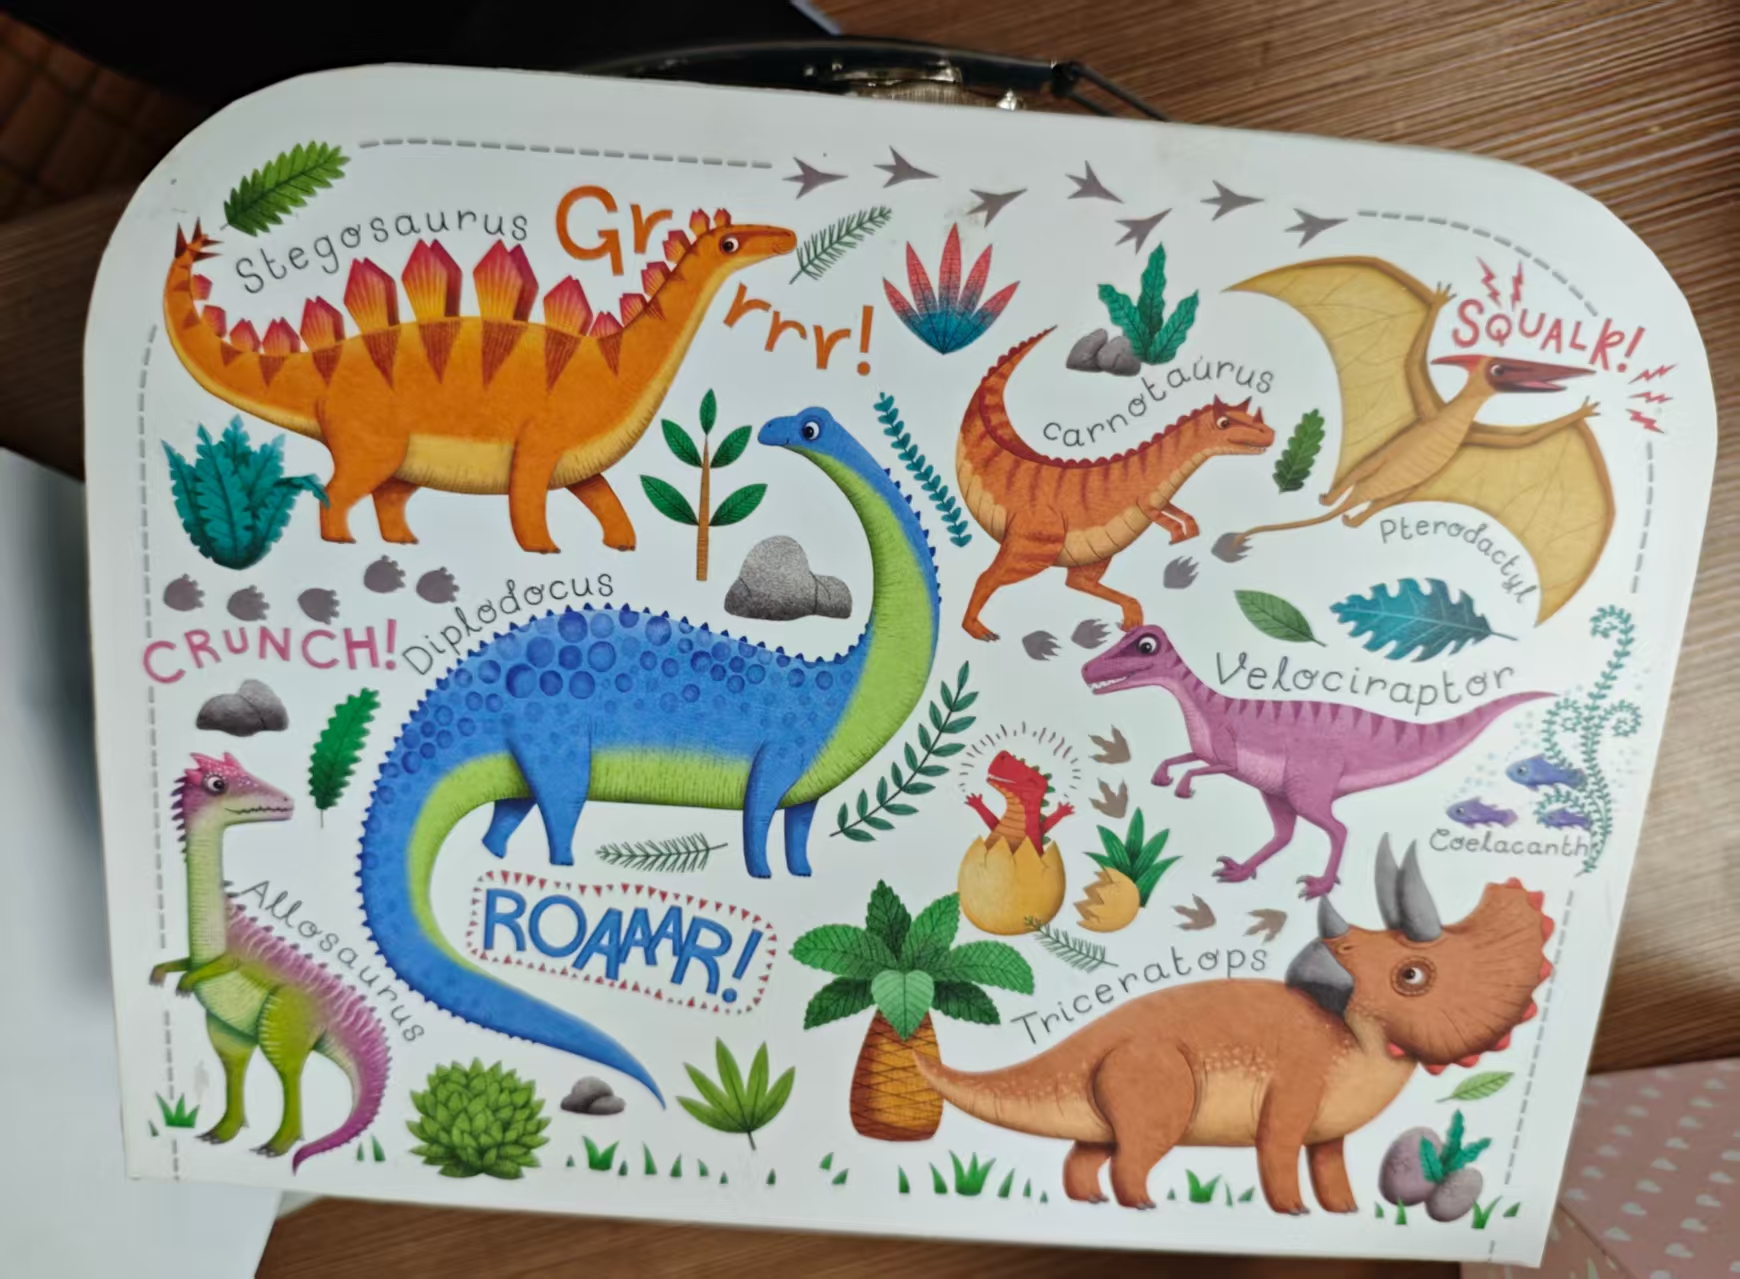
· Box Lid / Top: The cover of the box.
· Embellishments: Decorations (ribbons, bows, beads, etc.).
· Lining: Adding fabric or paper to the inside for a finished look.

![]()